Your Path Into the Circle

I

Join Discord

Get into the server, read the rules, and introduce yourself in the recruitment channel.

II

Read the Doctrine

Go through the Social Contract and guild charter. Know how we operate before you show up.

III

Know Your Class

Use the guides on this page. We expect you to have a working knowledge of your rotation and role.

IV

Run with Us

Join a dungeon night or guild event. Come prepared, communicate, and let's get to work.

↔ Drag steps to reorder your personal checklist

Season 2 Raids

Patch 12.1 · Curse of Ula'tek

The Venomous Abyss

Midnight Season 2 opened on August 18 with the Venomous Abyss, a raid sunk beneath the Coiled Isle in the Vaults of Atal'Utek. Eight bosses stand between you and Ula'tek, the serpent the Amani kept chained as a weapon.

On October 13, Patch 12.1.5 added a second raid, the Unbinding of Kith'ix: a single boss, fought with Lady Liadrin at your side.

Kill Heroic Ula'tek before the next tier arrives and you earn Ahead of the Curve.

Item level of raid drops
DifficultyVenomous AbyssKith'ix
Raid Finder279–289285
Normal292–302298
Heroic305–315311
Drops rise the deeper you go into the Abyss. Raid Finder needs item level 273 to queue.

Bosses in Encounter Journal order. In Raid Finder they come in four wings: The Soulcoilers, The Essence of Venom, The Serpent Warren and The Tomb of Ula'tek.

The Soulcoilers

Nek'zali the Soulcoiler

A shadow hunter who feeds undead Amani into the Soulcoil Well. Every soul it swallows makes her raid-wide damage hit harder.

  • Soulcoil Well. Never stand in it, and kill the Restless Amani before they reach it. Anyone who dies in the well empowers her.
  • Restless Amani. Their shields break fastest to magic damage.
  • Essence Rend. Get to the edge of the room before the debuff is dispelled.
  • Ignition. Spirits sweep along the ground. Watch your feet and save healing cooldowns for it.

Tanks keep her near the active coffins and swap at five or six stacks.

Video by Ready Check Pull

The Essence of Venom

Entombed Sentinels

Two sentinels, Ula'tek's Breath and Ula'tek's Blood, fought on opposite sides of the room and brought down together.

  • Keep them apart. Within 40 yards of each other they take 99% less damage.
  • Keep them even. At full energy, Vitriolic Stasis heals the more wounded one up to the other's health.
  • Helical Toxins. Stacks pass between players on contact. Combine them to exactly four to clear them; the pairs are called before the pull.

Each team holds its own side. Tanks swap bosses after every stasis.

Video by Ready Check Pull

The Essence of Venom

Vashnik the Malignant

He drinks from the fountains around his chamber to brew new venoms, and the raid's damage climbs with every draught.

  • Imbibe. At full energy he empowers the two nearest fountains. It is the fight's biggest damage spike, so call the next pair before it starts.
  • Living venom. Kill it before it reaches the crevasse, or Malignant Burst hits the whole raid.
  • Infections. Fire, Shadow and Blood each want something different: move out for the explosions, help Blood targets, keep Shadow targets moving.
  • Plague Froth. Aim the lines away from the group.

Tanks swap on every Dripping Fangs. Healers time the exploding dispels.

Video by Ready Check Pull

The Serpent Warren

The Lost Explorers

Three tortollan explorers, Gebbo, Nama and Iku, held under Mor'zahi's control. Keep their health even.

  • Final Ascension. Wipes the raid if it finishes. Feed a Revolting Fish when Mor'zahi's energy reaches 90 to 95 to break his hold.
  • Crates. Break them to reach the fish.
  • Mighty Thud. Share Nama's leap circles so no one takes a leap alone.
  • Blink Nova. Run from Iku. Kick every Icebound Flames.

Tanks swap on Shredding Shards. Healers watch the crate breakers and cover Frostfire.

Video by Ready Check Pull

The Serpent Warren

Sszorak

A venom-warped beast on the Altar of Six Winds, fought between knockback winds and venom cysts.

  • Read the winds. The motes show which tunnels the winds come from. Check them again after every intermission.
  • Venomous Surge. Drop each cyst opposite its matching tunnel, and spread when the venom bursts.
  • Mutilate. Stack up and share it.
  • Dig In. Sszorak takes 30% more damage for 25 seconds. Save your burst for it.

Tanks split the combo hits and swap at around six stacks of Corroding Venom.

Video by Ready Check Pull

The Soulcoilers

The Twin Fangs

Vexhul and Ithraz, Ula'tek's first offspring, coiled beneath a sea of venom.

  • Eternal Venom. It stacks on everyone and turns lethal. Ithraz's Feast bites each take a stack away, so players with high stacks go to the bites.
  • Globules. Low-stack players collect them; any left behind hurt the raid.
  • Ichor pools. Drop them tight along the outer rim.
  • Submerge. Follow the rotating beam around the edge. Never cut through the middle.

Tanks soak the Stone Breakers in the order they spawn, three at a time, then swap.

Video by Ready Check Pull

The Tomb of Ula'tek

The Coiled Altar

Zul'jan first, then the spirit of Malacrass, who drives him to finish the ritual that frees Ula'tek.

  • Sever. A tank frontal that makes the next Sever hit far harder. Swap after every one.
  • Soulbinding. Catch the fragments before they reach Malacrass and heal him.
  • Guillotine. The assigned group soaks it, then gets 40 yards from the axe before Widow's Kiss.
  • Mind control. Break the shields on controlled raiders before they are marched off the edge.

Healers dispel Venomfang and hold cooldowns for the venom burst at the transition.

Video by Ready Check Pull

The Tomb of Ula'tek

Ula'tek

The weapon the Amani kept chained. She floods the platform with venom, hatches her brood and tears the arena apart.

  • Spectral Coils. Stack together. The more players nearby, the less each one takes.
  • Eggs. Caustic Waves hatch any egg they touch. Kill the Vipers first.
  • Rage of the Shackled. Her Venomous Heart opens. This is the burn window, so use your cooldowns on it.
  • Collapsing platforms. The arena breaks apart section by section. Move together, and keep the bite teams apart on the last platform.

Tanks run straight back after Mother's Wrath. Healers remove Hobbled and heal the Sting absorbs. DPS kill the Shriekers.

Video by Ready Check Pull

The Unbinding of Kith'ix · Patch 12.1.5

Kith'ix

Ula'tek's death loosened the chains on something older. Kith'ix waits beneath the Vaults of Atal'Utek, and Lady Liadrin fights beside you.

  • Adds first. Kill the aqir, the Venomous Hulk and the Voidweaver before Kith'ix reaches full energy.
  • Liadrin's Light. In the intermission the arena goes dark. Stay inside her Light until she breaks the darkness and stuns him.
  • Extinguish. Take a spark from Liadrin before the shadow wave reaches you.
  • Overwhelming Fear. Walk away from the group before it is dispelled.
  • Eightfold Eclipse. At 25% Liadrin heals and empowers the raid. Kill him before the eighth Eclipse.

Tanks swap after every Dark Devastation and drop their circles at the edge. Lead Bomber Beetles away and don't let them burst together.
Video by Tactyks

Class Rotation Guides

Video Library

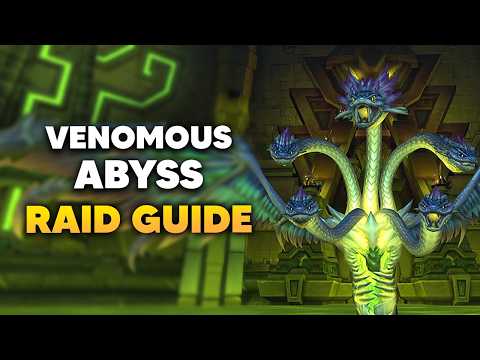
The Venomous Abyss full raid guide for Normal and Heroic
Raid Guide

The Venomous Abyss — Full Raid Guide

Normal and Heroic strategy for all eight bosses of the Venomous Abyss, from Nek'zali to Ula'tek. The best single watch before raid night.
Tactyks · All Roles Click to Watch
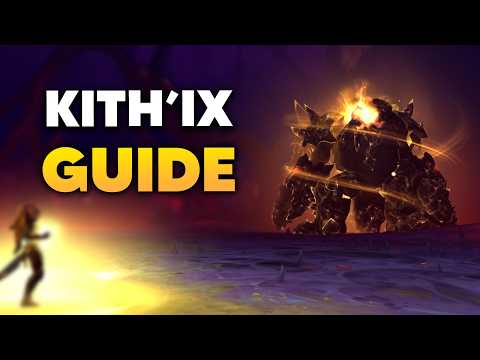
Kith'ix boss guide for Normal and Heroic
Boss Guide

Kith'ix — The Unbinding of Kith'ix

Normal and Heroic guide to Kith'ix, the single-boss raid added in Patch 12.1.5, and how to fight alongside Liadrin.
Tactyks · All Roles Click to Watch
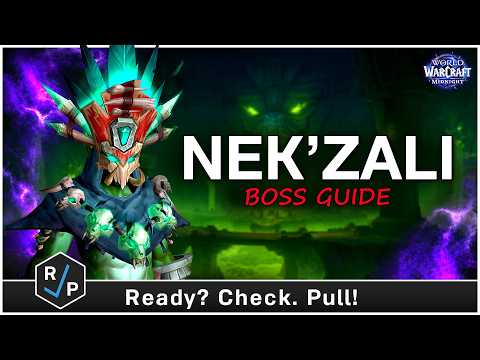
Nek'zali the Soulcoiler boss guide
Boss Guide

Nek'zali the Soulcoiler

The first boss of the Venomous Abyss: keeping the Soulcoil Well clear, breaking the Amani shields and surviving Ignition.
Ready Check Pull · All Roles Click to Watch
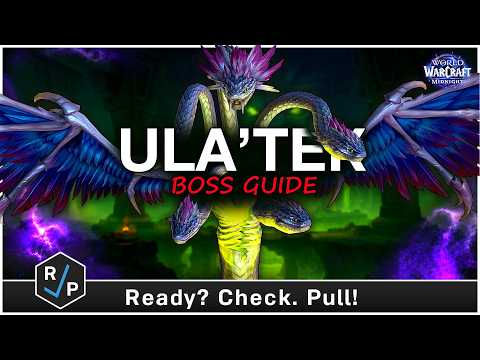
Ula'tek boss guide for Normal and Heroic
Boss Guide

Ula'tek

The final boss: eggs, Spectral Coils, the Venomous Heart and the collapsing platforms, for Normal and Heroic.

Ready Check Pull · All Roles Click to Watch

Raid Doctrine

Minimum Item Level
276
The floor required to participate in guild raid progression. Members below this threshold may be asked to gear up before joining an active roster slot.
Entry Requirement
Desired Item Level
281+
The benchmark for confident, optimized performance in progression encounters. Prioritize weekly vault choices, crafted gear, and upgrades to reach this target.
Progression Target

Raid Expectations

We are a casual guild. We expect wipes. We expect learning curves. What we don't accept is people showing up unprepared and expecting others to pick up the slack. Do your part, and we'll push through this content together as a team.

Come Ready

  • Gear: Repaired, enchanted, and gemmed.
  • Talents: Correct spec for what's on the schedule.
  • Knowledge: Know the fights we're doing. You don't need to be an expert — you need to have looked.
  • Attitude: Wipes happen. Stay positive, adjust, and keep going.

Voice Comms

Discord is mandatory. Push-to-talk required. Keep chatter light during pulls — callouts only when we're in combat.

Performance

We're not here to shame anyone. If something needs to be addressed, it gets handled privately and constructively. We want everyone to improve, and we'll help make that happen. What we ask in return is that you take some initiative. Watch a guide, read up on your spec, try things between raid nights. Meet us halfway.

DKP Loot System

Iron Circle uses Dragon Kill Points. Earn them by showing up and contributing. Spend them to take loot. Everything happens openly in raid chat. Highest bid wins — no backroom deals, no exceptions.

▲ Earning DKP

+1Tanks and Healers receive a starting bonus each season — your role prep is acknowledged
+1On time and raid-ready at first pull
+1Per boss killed during the night
+1Per hour spent in raid, tallied at end of night
+2Full progression attendance bonus — present at every raid and there when the final boss goes down
+2If attendance drops below 70% and we PUG to fill, all present Iron Circle members earn this automatically

▼ Losing DKP

−2Signed up, no-showed, said nothing.
−1Signed up and arrived after first pull. Sort out your time zone ahead of time.

Life happens and we understand that. Communicate ahead of time and penalties can be waived. If it becomes a recurring pattern across more than two raid blocks, you'll be benched until things settle.

Bidding

State your bid in raid chat, out loud. Highest bid wins. DKP deducted immediately on award. Ties go to /roll. No side trades, no quiet deals. Keep it transparent.

Goals and Timeline

We're giving ourselves six raid days on Normal to gel as a team and clear the content. After that, we evaluate as a group. Full clear means we look at Heroic. If the team is happy with where things are, we may shift to alts or other content entirely. Progression isn't a grind we force — it's something we do together for as long as it's worth doing.

Your Roster Spot

Once progression starts, bring the same character every week. Alts are welcome if they're similarly geared and guilded in Iron Circle. If you can flex roles, tell an officer — knowing our roster's options matters when we're making decisions mid-progression.

Progression Raid
8:00 PM CST
Optional Raid
6:30 PM CST
Logs
Reviewed Weekly
Feedback given privately. We help you improve, not call you out.

Addons

No addons are required. We encourage members to learn the game on its own terms first — tools should support your understanding, not replace it. That said, the right addons do make a real difference, and we're happy to point you in the right direction.

Recommended

  • Deadly Boss Mods or BigWigs — boss timers and encounter alerts. Pick one and keep it updated.
  • WeakAuras — custom tracking for procs, cooldowns, and assignments. Worth learning.
  • Details! — damage and healing meter. Use it to review your own pulls, not to rank-shame others.
  • GTFO — audio alert when you're standing in something you shouldn't be. More useful than it sounds.
  • Method Raid Tools — raid notes, cooldown tracking, and assignments. Officers will lean on this one.
  • OmniCD — tracks party and raid cooldowns. Useful when fight coordination is tight.
  • Plater Nameplates — cleaner enemy nameplates. Makes chaotic pulls a lot easier to read.

External Resources